There was an option in SharePoint Designer, Export to Visio which exports your workflow as a .vwi file, and can be imported in to another site using the option Import from Visio. But when you try that option, you will get the below message:
This workflow cannot be imported because it was created in SharePoint Designer for a different site, or the original workflow has been moved or deleted. To move a workflow between sites, use Save as Template (.wsp file) instead of a Visio workflow drawing.
(Saving as a .wsp IS NOT the answer)
So, to achieve the same follow the steps below.
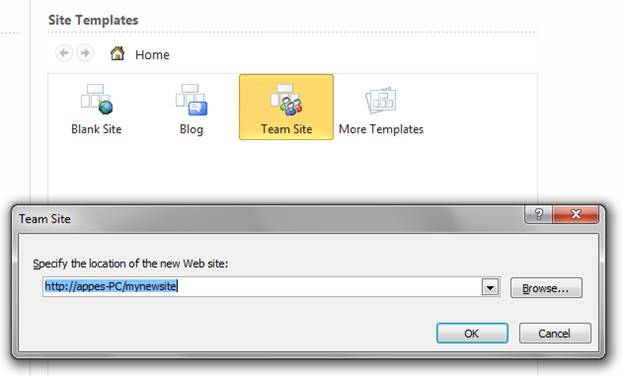
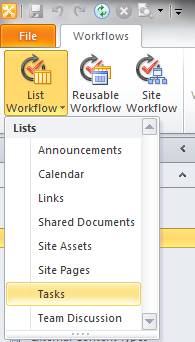
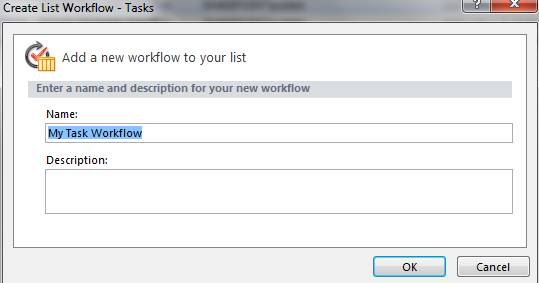
- In the first(source) site, create the required workflow and publish it.
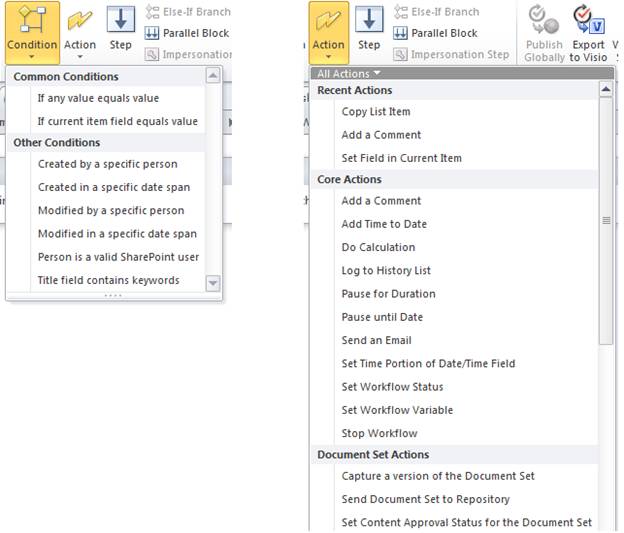
- Now select Export to Visio option which allows you to save the workflow with a .vwi extension. (Refer this workflow hereafter as source workflow).
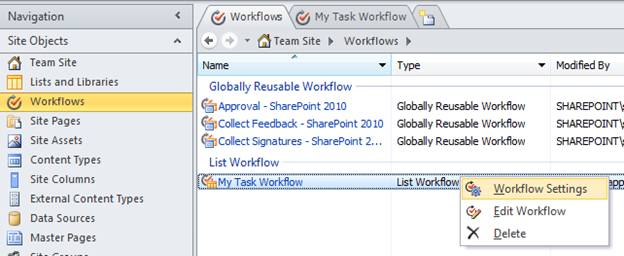
- Now go to the destination site where you want the workflow to be copied, and create a new workflow with the same name as the previous one & publish it.
- Now select Export to Visio option which allows you to save the workflow with a .vwi extension. (Refer this workflow hereafter as Destination workflow).
- Now you will be having two .vwi files (one of source workflow’s – SourceWorkflowName.vwi and other of the destination workflow’s – DestinationWorkflowName.vwi). Now add .zip extension to both the files. Now your files names should be SourceWorkflowName.vwi.zip & DestinationWorkflowName.vwi.zip.
- Now open both the zip files, copy workflow.xoml.wfconfig.xml from destination workflow to source workflow. (Its destination to source and not source to destination).
- From now on, we will not use the file DestinationWorkflowName.vwi.zip. So ignore that file.
- Remove the .zip extension from SourceWorkflowName.vwi.zip which gives you the SourceWorkflowName.vwi file.
- Now, go to the destination site, open workflows and click Import from Visio and browse to the SourceWorkflowName.vwi file.
- That’s it and your workflow is copied. You can publish the workflow and run it.